What a magical place the cloud!
Select your Cloud Hosting Provider
Separate instructions are provided below for Azure and AWS. if you already know how to setup a virtual machine in your environment, check out the Bring Your Own Host page for system requirements.
Azure
Log in to your Azure Portal
You’ll need to have rights to create and modify virtual machines.
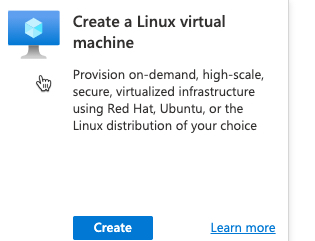
Navigate to the create a virtual machine page
Select or search for virtual machines

Select linux

Enter settings for your VM
For maximum bowl building compatibility, select:
- Ubuntu Server 20.04 LTS - Gen2
- At least 2vcpus & 4GB memory
- ensure you have a way to connect (port 22 for SSH) & password/key
Persistent storage is not required for a short term workshop.
Next Steps
Please jump down to Finishing Up below.
AWS
Login to AWS
You’ll need permissions to create and modify EC2 instances.
Launch a new instance.
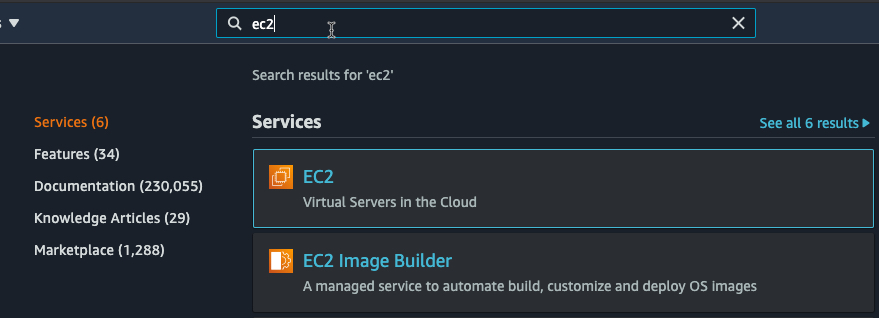
Select or search for virtual machines.

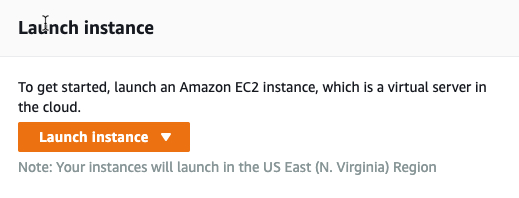
Select launch instance.

Select a server size with 2+ vcpu and 4GB+ memory, review, and launch.
Next Steps
Please jump down to Finishing Up below.
Finishing up
Add the server’s IP address to your hosts file
Open your hosts file and add rancher.localdev with the IP. (Replace x’s with your ubuntu server’s IP address.)
Hosts file example:
192.168.1.1 server1
192.168.1.2 server2
192.168.x.x rancher.localdev
Confirm login & choose your next ingredient
If you can log in to your new host, Congratulations! You’ve completed step 1. Check out next steps in building your bowl here.
Recyling your bowl
For any of the cloud hosting options listed here, you can simply shut down & remove the vm. After a period of inactivty, Dynatrace will archive the system automatically.